Last updated on October 19, 2021
Happy Fall! My absolute favorite time of the year. I cherish everything about it. The foggy, brisk mornings, rain showers, bon fires, cozy sweaters, scented candles, baked goods, large pots of stew, and let’s not forget those bright, crunchy leaves, right?!
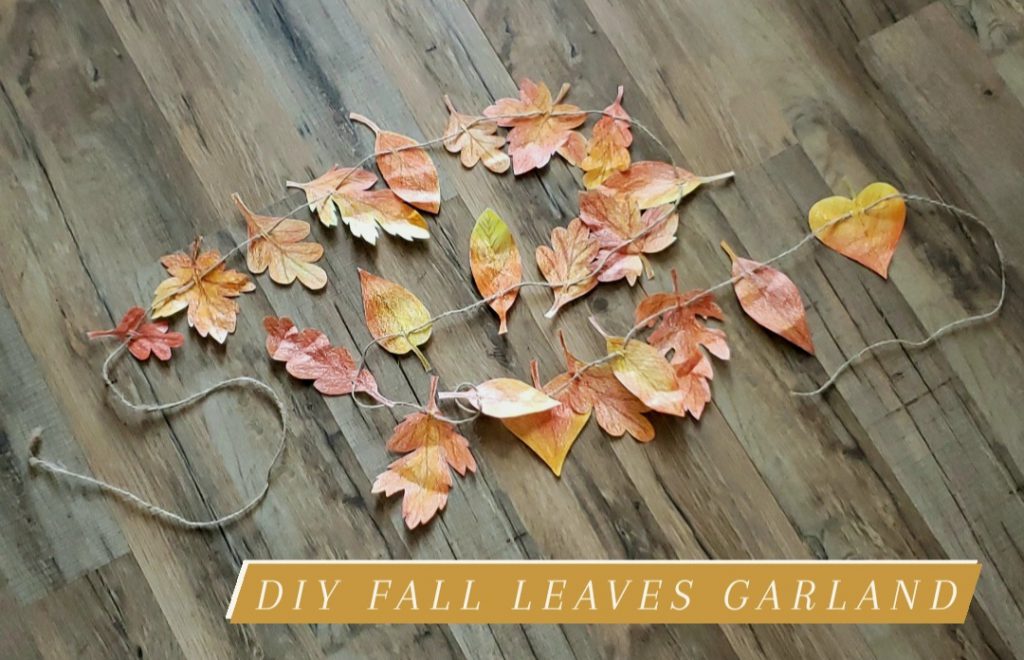
Last night I had the idea to create some paper leaves to hang as a garland or even tape to the windows for a fall craft with my toddler. I thought, what great fun to introduce crayons to him while we decorate leaves! So this is what we came up with.
Such a satisfying afternoon project. This would be fun for all ages and I encourage you to give it a shot! If you have some basic art supplies and a couple of hours, you will have a wonderful decoration that you can add to your collection. And what more could you ask for than an adorable and fun family craft that will last for many years!
Materials:
You will need a pencil, some sturdy paper, crayons, scissors, tape, string, yarn, or twine, and an exacto knife.
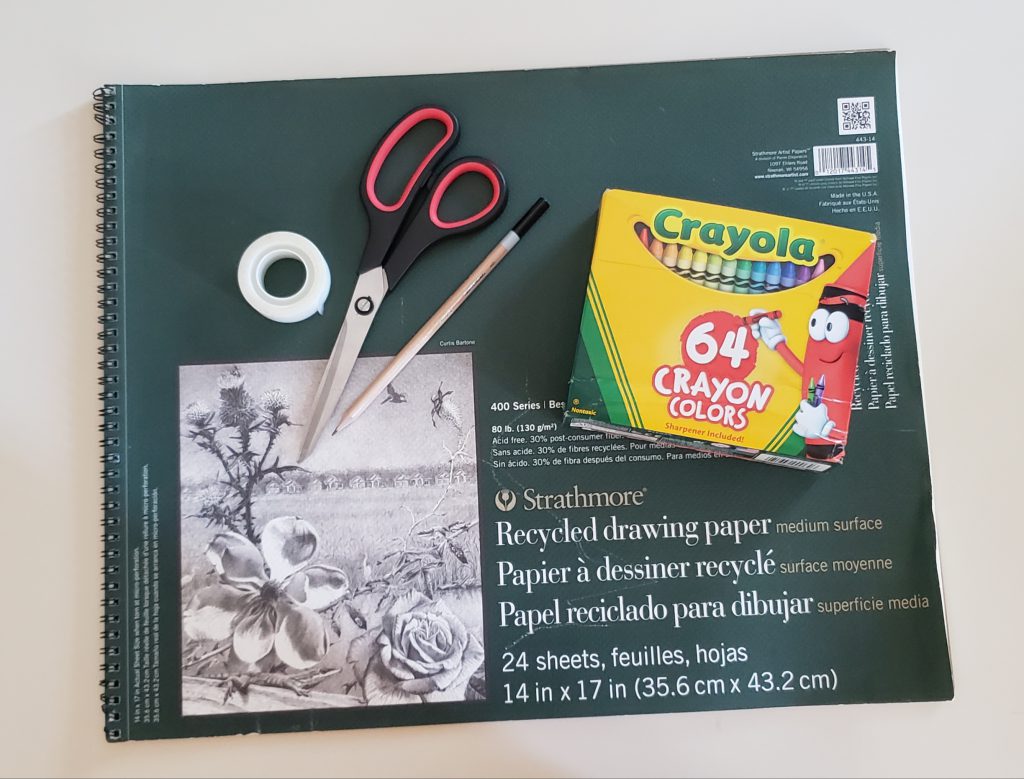
I used Strathmore Recycled drawing paper. I happened to have some scraps leftover from another project and thought it would be perfect to use for our leaves! There is medium texture allowing the crayons to blend together nicely and it’s easy to cut but not easily torn. Any paper will work just fine, though.
There is no wrong way of approaching this. Have fun and let your children be part of it! I guarantee you they will love it. It does take some time to finish so put on your favorite fall family movie or playlist and bring out the fall snacks for an afternoon of fun!
•••
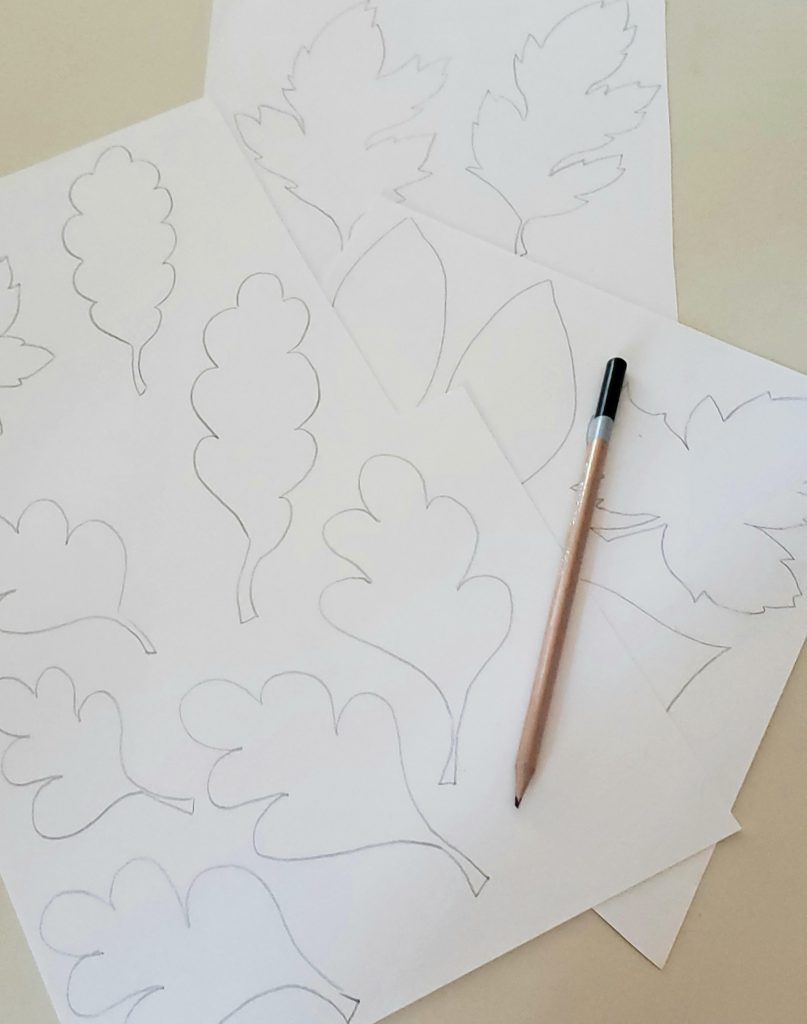
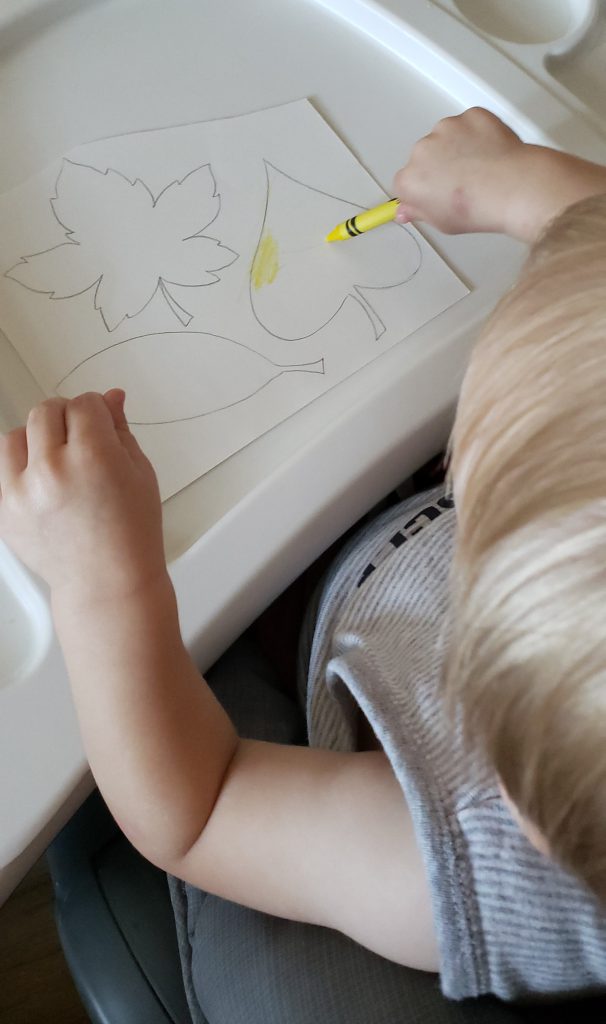
Now that we have all our supplies, we can begin drawing out the leaves. Remember to make them rather large (aim for the size of your hand) and create a variety so that your garland boasts a beautiful array of different species.
While you draw the leaves, let your littles begin coloring them! It’s okay if they go outside of the lines because we are going to cut them to shape so let them have fun and color away.
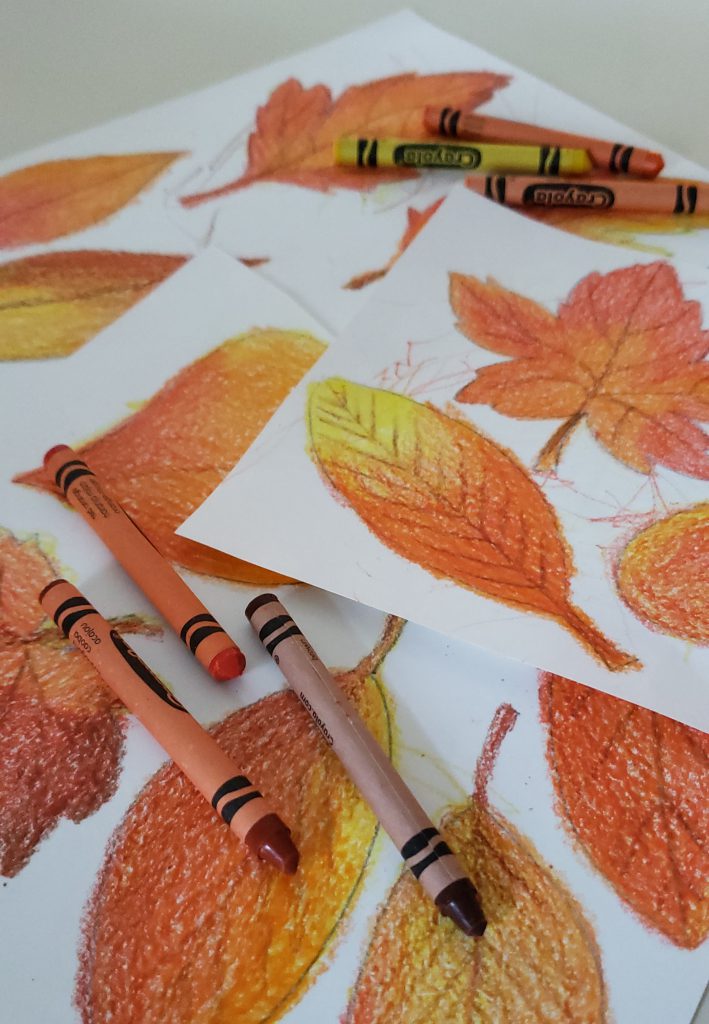
Oh, just look at these beautiful colors coming out!!! (These are my favorite and what makes me think of falling Autumn leaves so please, feel free to use the same or pick out your favorite shades.)
Now that we have all our leaves colored and details added we can cut them out.
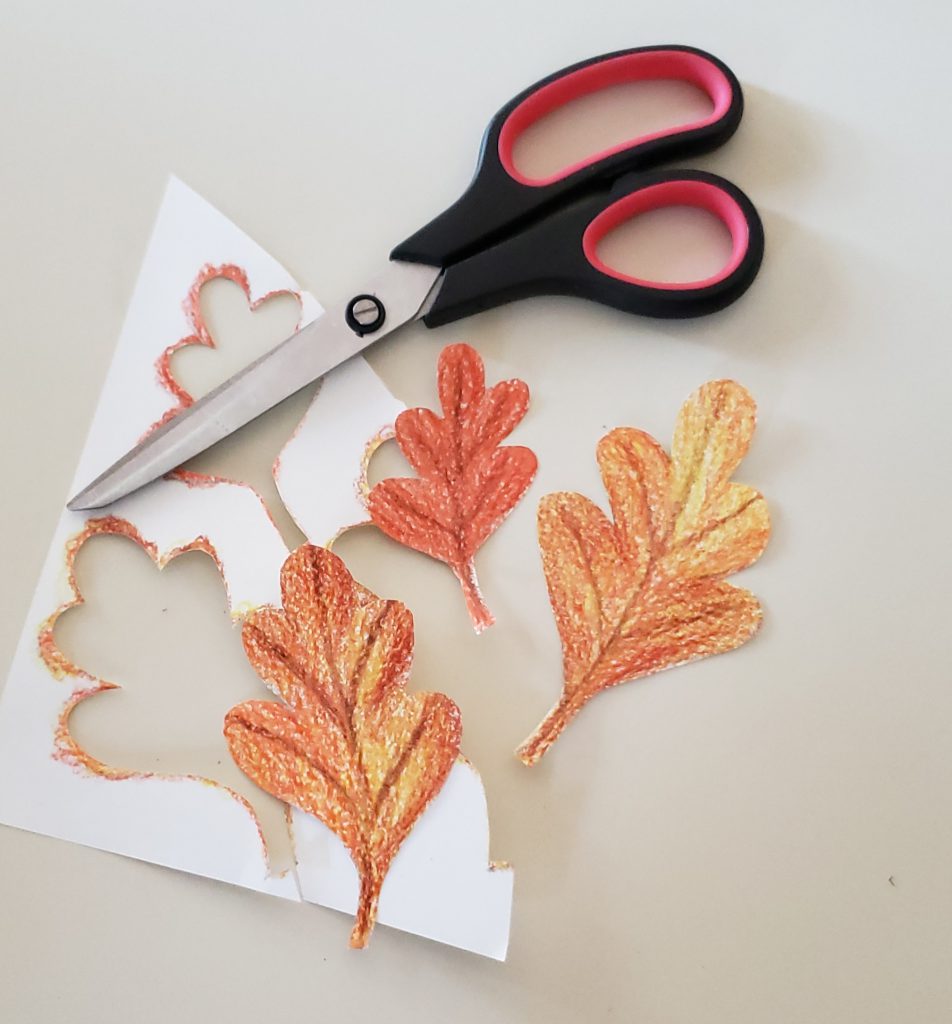
As you finish cutting each, this is the perfect time to let your littles help again by gently crinkling the leaves to give them that realistic texture and look!
(Wink, wink! Remember, this is toddler friendly!)
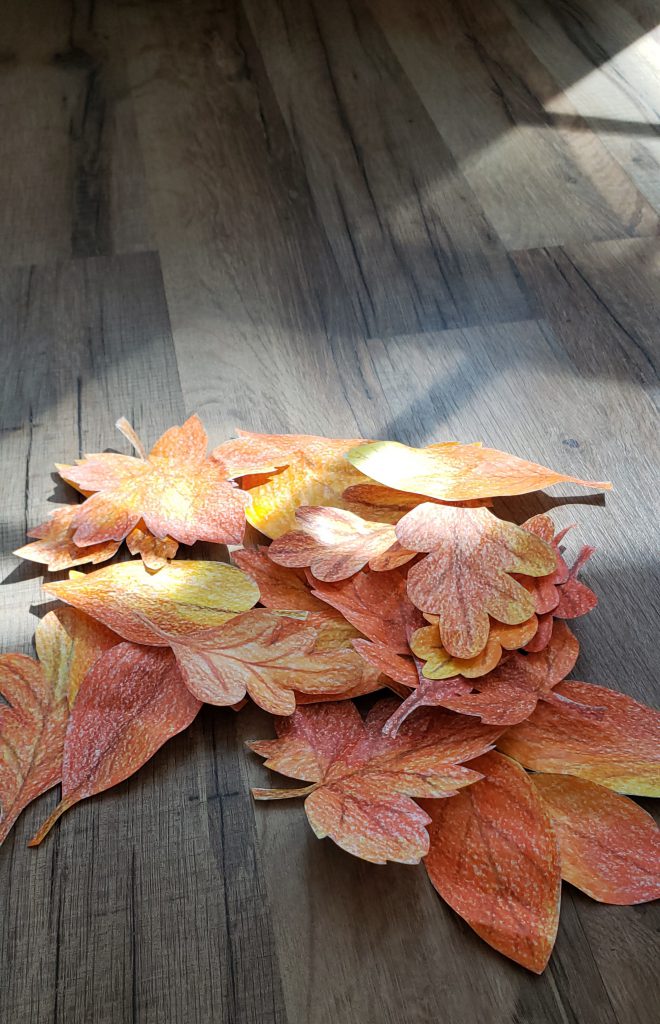
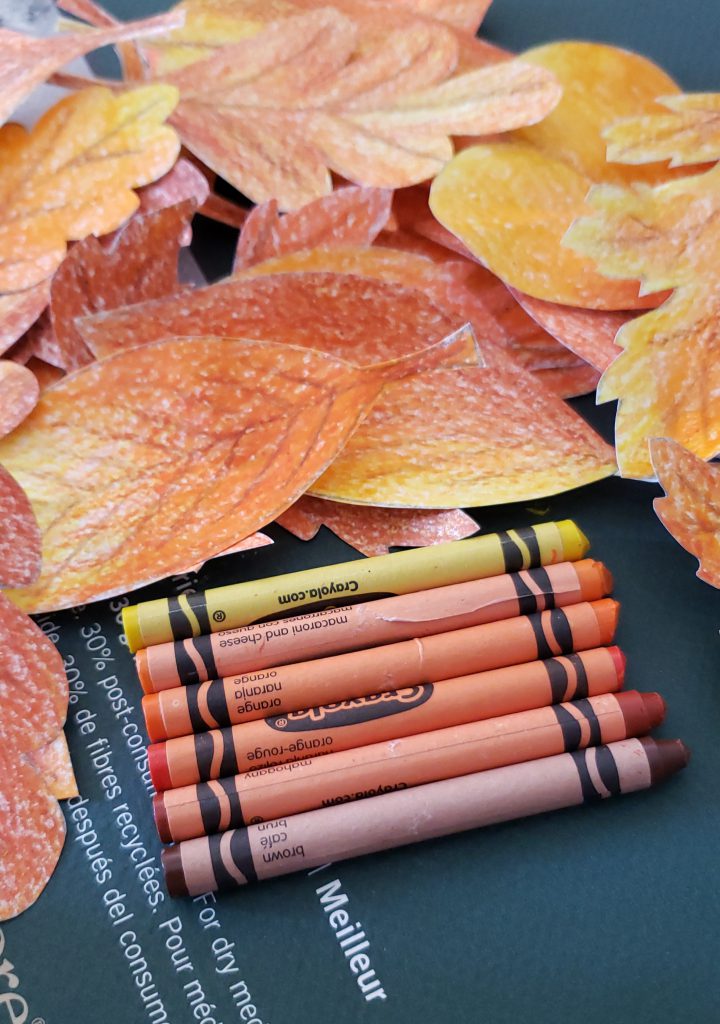
Oh, what a lovely collection that is forming! Now let us string them up.
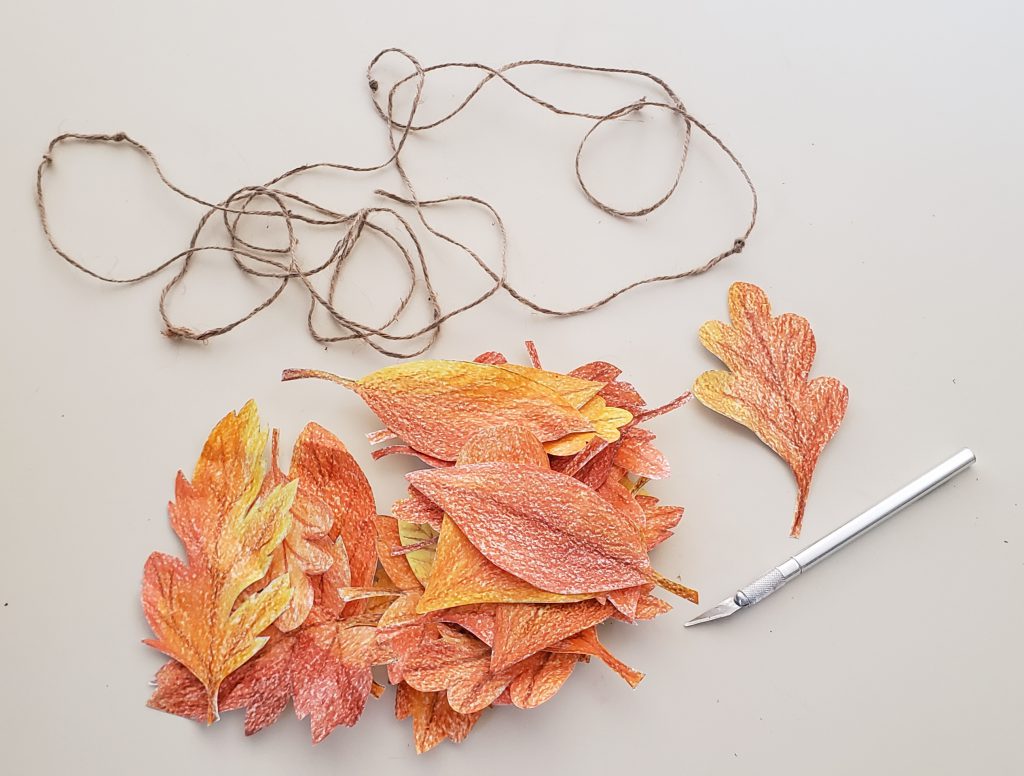
We just poke two notches in the upper middle of the leaves and thread the twine through. You may want to help your children with the threading so that the leaves do not tear too much. (Or maybe you would like to do that part yourself! I had to use the exacto knife to coax the twine though the small notches. ) However, the kids may enjoy sliding the leaves into place once threaded!
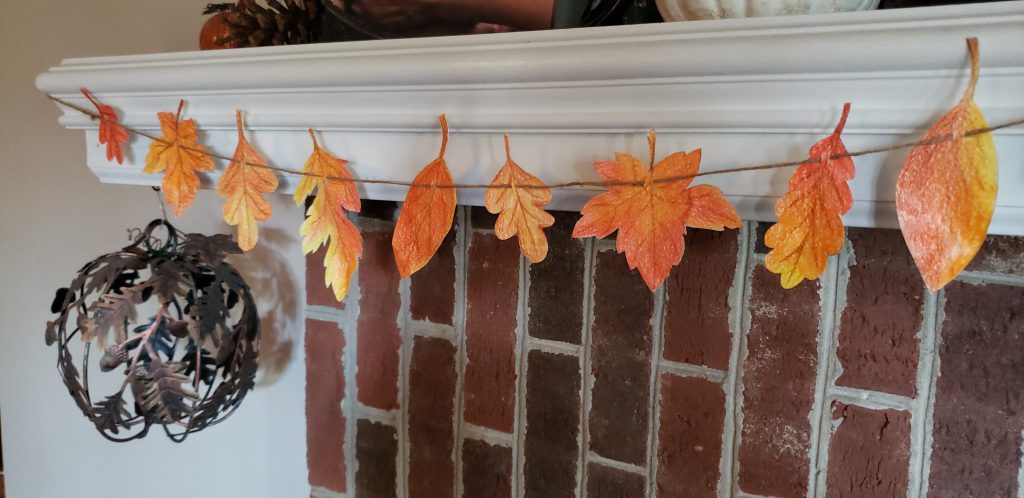
We made 22 leaves out of the scrap paper and that was plenty for draping across the mantle.
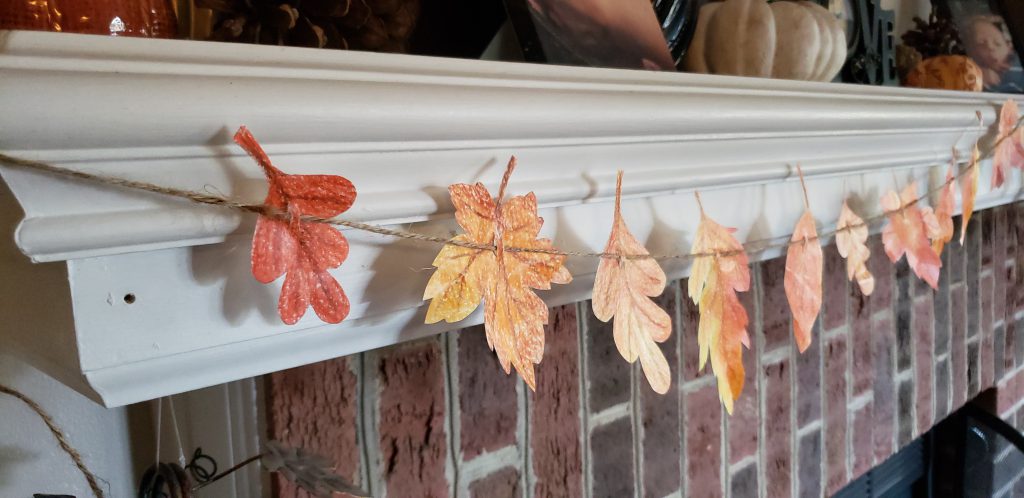
This garland turned out so rustic-cute! I am very happy with our color choices and variety of shapes.
I do thank you for following along with this tutorial and hope that you enjoyed making it as much as we did. I would love to see your garlands so don’t forget to tag me on Instagram @hollyramey.
🍁 Happy Crafting and Happy Fall! 🍂
I have to thank you for the efforts you’ve put in penning this blog. I am hoping to view the same high-grade content by you in the future as well. In truth, your creative writing abilities has motivated me to get my very own blog now 😉
How sweet! Thank you so much for this, Felicia. I always love to hear when my work is enjoyed and I am so happy to have given you some inspiration! I hope that you continue to enjoy my blog and please feel free to subscribe if you like so as to not miss any future posts. 🙂 ♡